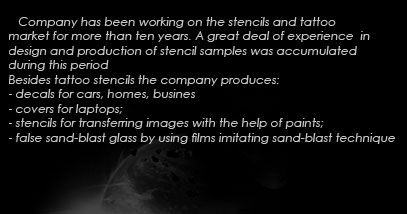
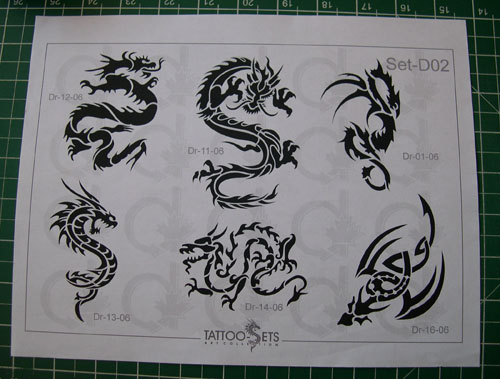
Tattoo stencils are made of white not transparent vinyl 150 mic. (6 mil) thick, with adhesive backing. Along with the stencils you get flash sheet letter size. Each flash sheets contains from 4 to 10 designs (see example below). These stencils suit for temporary tattoo airbrush for application on the skin. They may be used with black henna, body paint, glue-based sparkles tattoo stencils as well. |
|
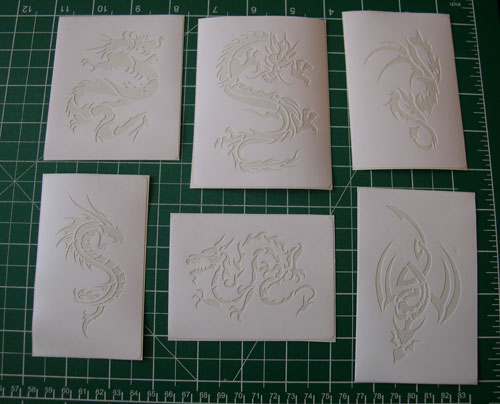
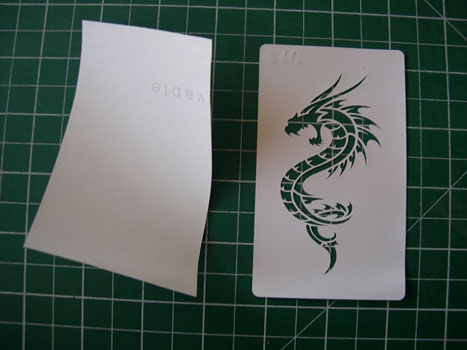
The stencils are shown in the picture below.
|
|
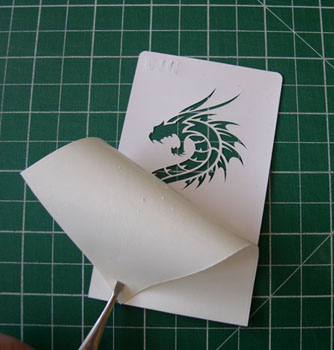
Place the stencil with the plastic design facing down and pull the paper backing as shown. You may keep the backing for further storage of the stencil. Apply the stencil to the sking and use the airbrush/henna, remove the stencil. If you use the stencils gently the glue layer remains for about 50 applications or more, you need to wash the stencil with dish soap and cool water after each use but even when the glue is no longer there you may continue using the stencils, many people prefer to remove the glue from the very beginning. If you inadvertently tear the stencil you may use superglue to fix it. |
|
After you wash the stencil with cool water and dish soap it appears non-sticky. After you let the stencil dry it becomes sticky once again and you may place it onto the glossy side of the backing (the side you have removed it from). If you are going to use these stencils to apply the design on plastic, metal etc. you need to spray glass cleaner or water with several drops of dish soap added to it (1 drop per cup) onto the sticky side of the stencil. Apply the stencil to the surface with the wet side facing down. Mop the stencil and the surface it is applied onto with a paper towel. If you do not wet the stencil it will be very hard to remove it from the surface once you finished and you may inadvertently tear the stencil when pulling. |
 |
|
|
|
|
|
|
|
|
|
|
Should you have any questions please do not hesitate to contact us. |
|
|
|
|
|